How to Install Linux Mint on a Chromebook
By: Frank
I was gifted an old Acer Chromebook from a relative who was no longer using so figured I might as well do something fun with it and get some practice switching out operating systems. Linux Mint Xfce was my flavor of choice seeing as though it is a pretty lightweight distro. The main resource I used to learn how to do this was a tutorial by mrchromebox
First, Backup your files
The first step would be to back up any data because your machine is going to get wiped clean. I decided to skip this step since this computer didn’t have anything of use to me on it.
Create a Bootable USB
You’re going to want to get a USB drive. It doesn’t have to have loads of storage. I used a 32GB drive but you shouldn’t need nearly that much. There are various ways to create a bootable USB but I chose to use a program called Rufus.
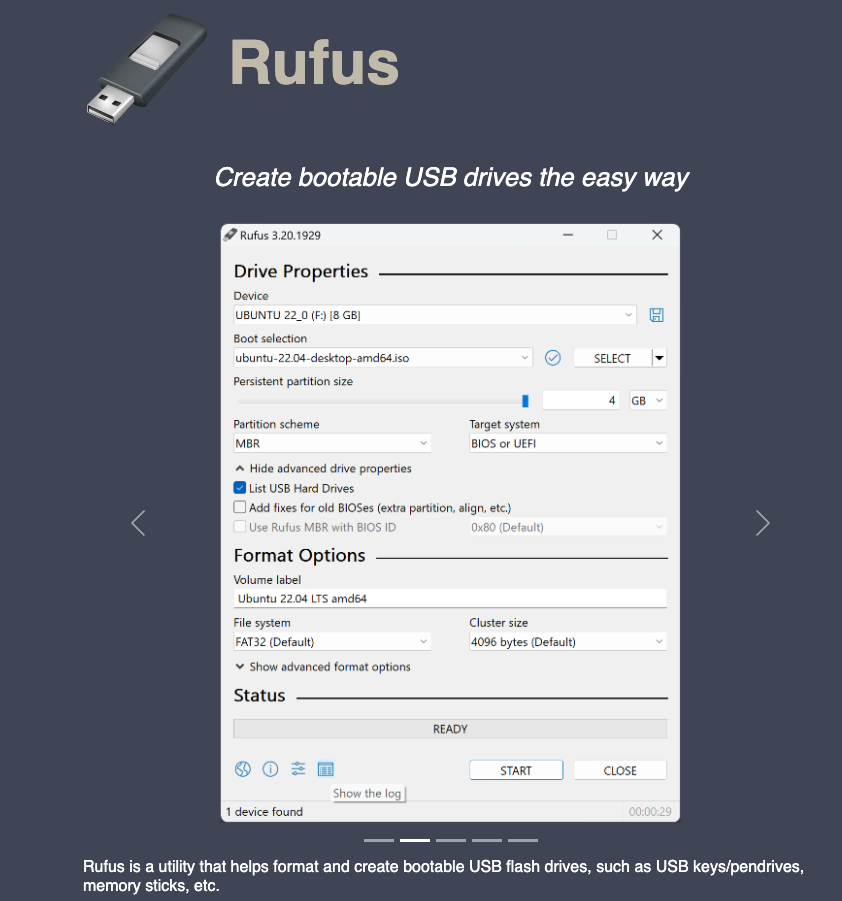
After downloading Rufus, you’re going to want to find your Linux distribution of choice and download the iso image for it.
The next step is to plug in your drive and run Rufus. On the Drive Properties menu you’ll want to select your device and under Boot Selection choose “Disk or ISO image”. See Rufus’ documentation for any issues. Once you hit Start it will usually take a couple minutes to copy the ISO files onto your drive.
Now that we have our bootable USB, you will need to enable developer mode on your Chromebook. You’ll need to press [Esc + refresh key + power button] on your machine. This can be done from the login screen or when you’re already logged in. You’ll be presented with a white screen saying “OS verification is off”
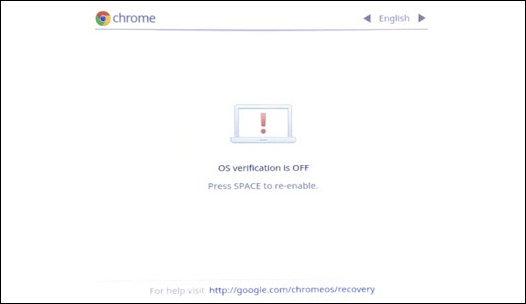
Disable Write Protection
The next step is to disable write protection. My particular Chromebook model has a write protected screw that needs to be removed to make changes to the firmware. This part was a bit tricky, because I could not get the screw out for the life of me. After trying almost every screwdriver size I had, I ended up cutting the trace leading to the write protect screw. This worked like a charm for me.
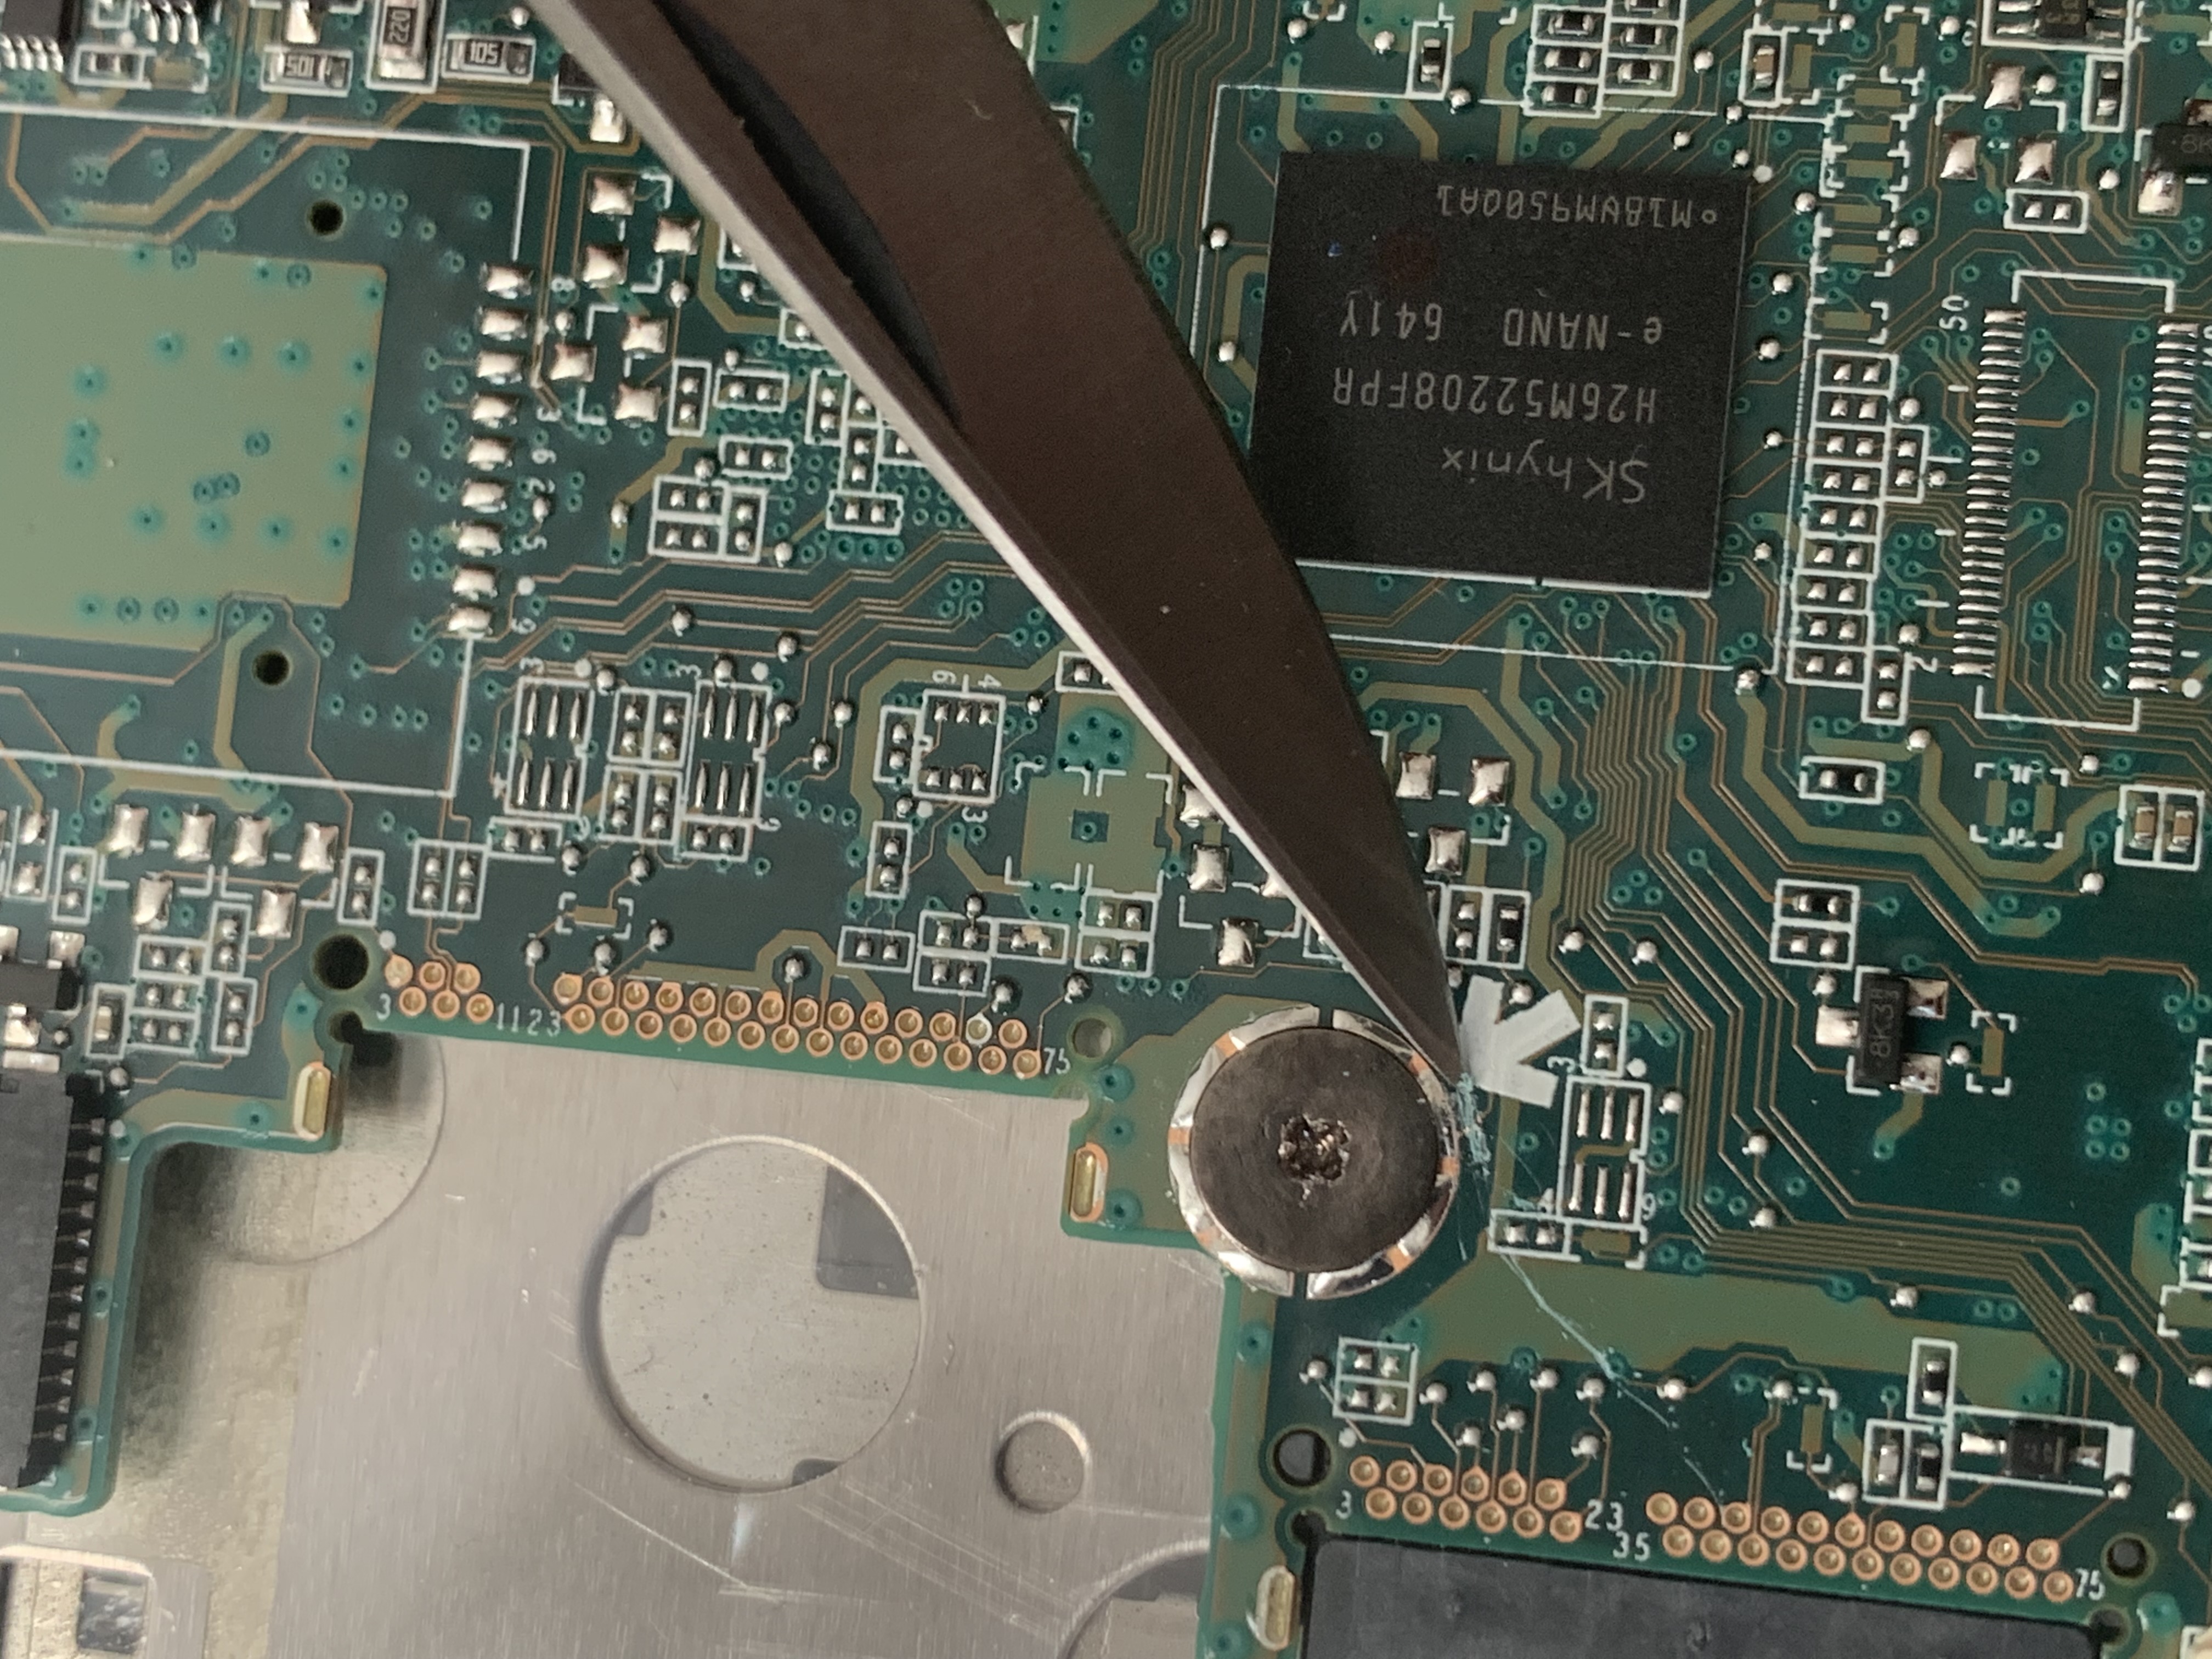
Flash Firmware
You will then want to log into the chromebook and open up a crosh shell by pressing CTRL+ALT+T, then take the following steps:
- Type "shell" in the command prompt
- Take the command from https://mrchromebox.tech/#fwscript and paste it into the terminal cd; curl -LO mrchromebox.tech/firmware-util.sh && sudo bash firmware-util.sh
- You will then be presented with the “ChromeOS Firmware Utility Script” screen. You will have a handful of options but you’re going to want to select. Select the option reading “Install/Update UEFI (Full ROM) Firmware”. This is where removing the write protect screw is important - I got to this screen and was not able to select this option until I cut the trace to the screw.
- You will then be prompted with a few questions. I answered yes to all of them except the one in regards to backing up your firmware. If I recall correctly I was having issues getting it to work until I went back and answered No to this option.
Boot your Linux Distro
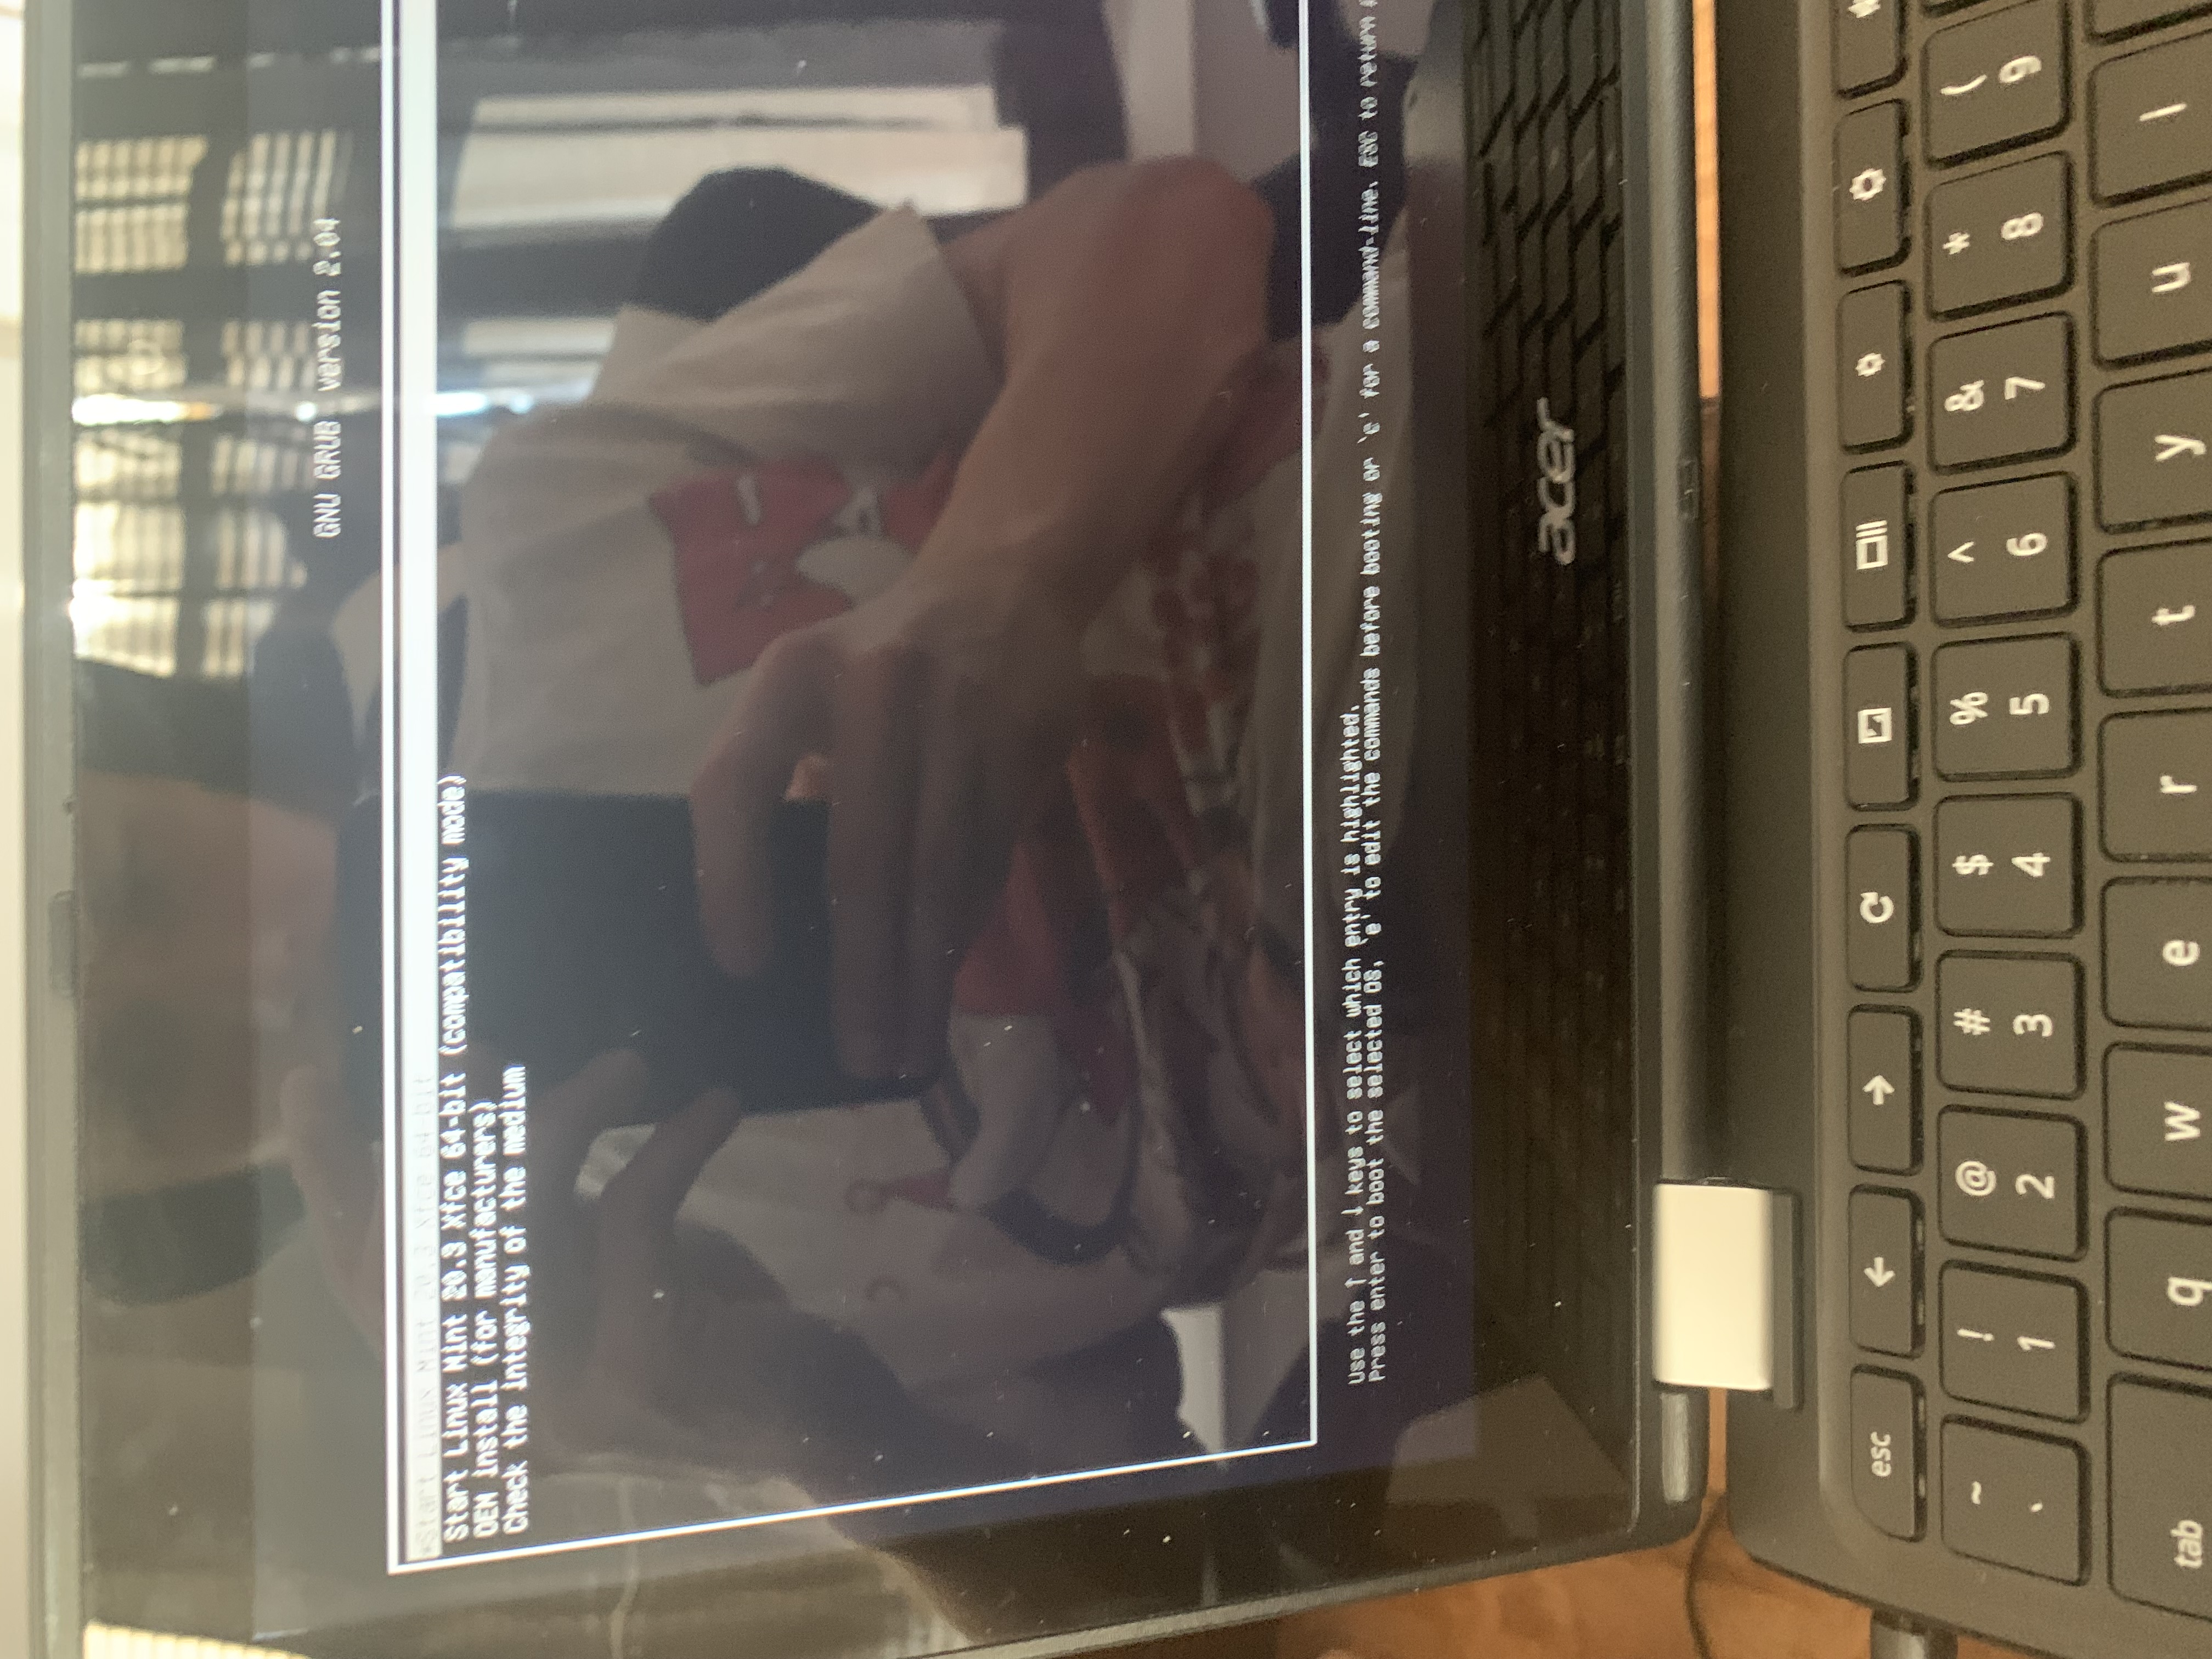
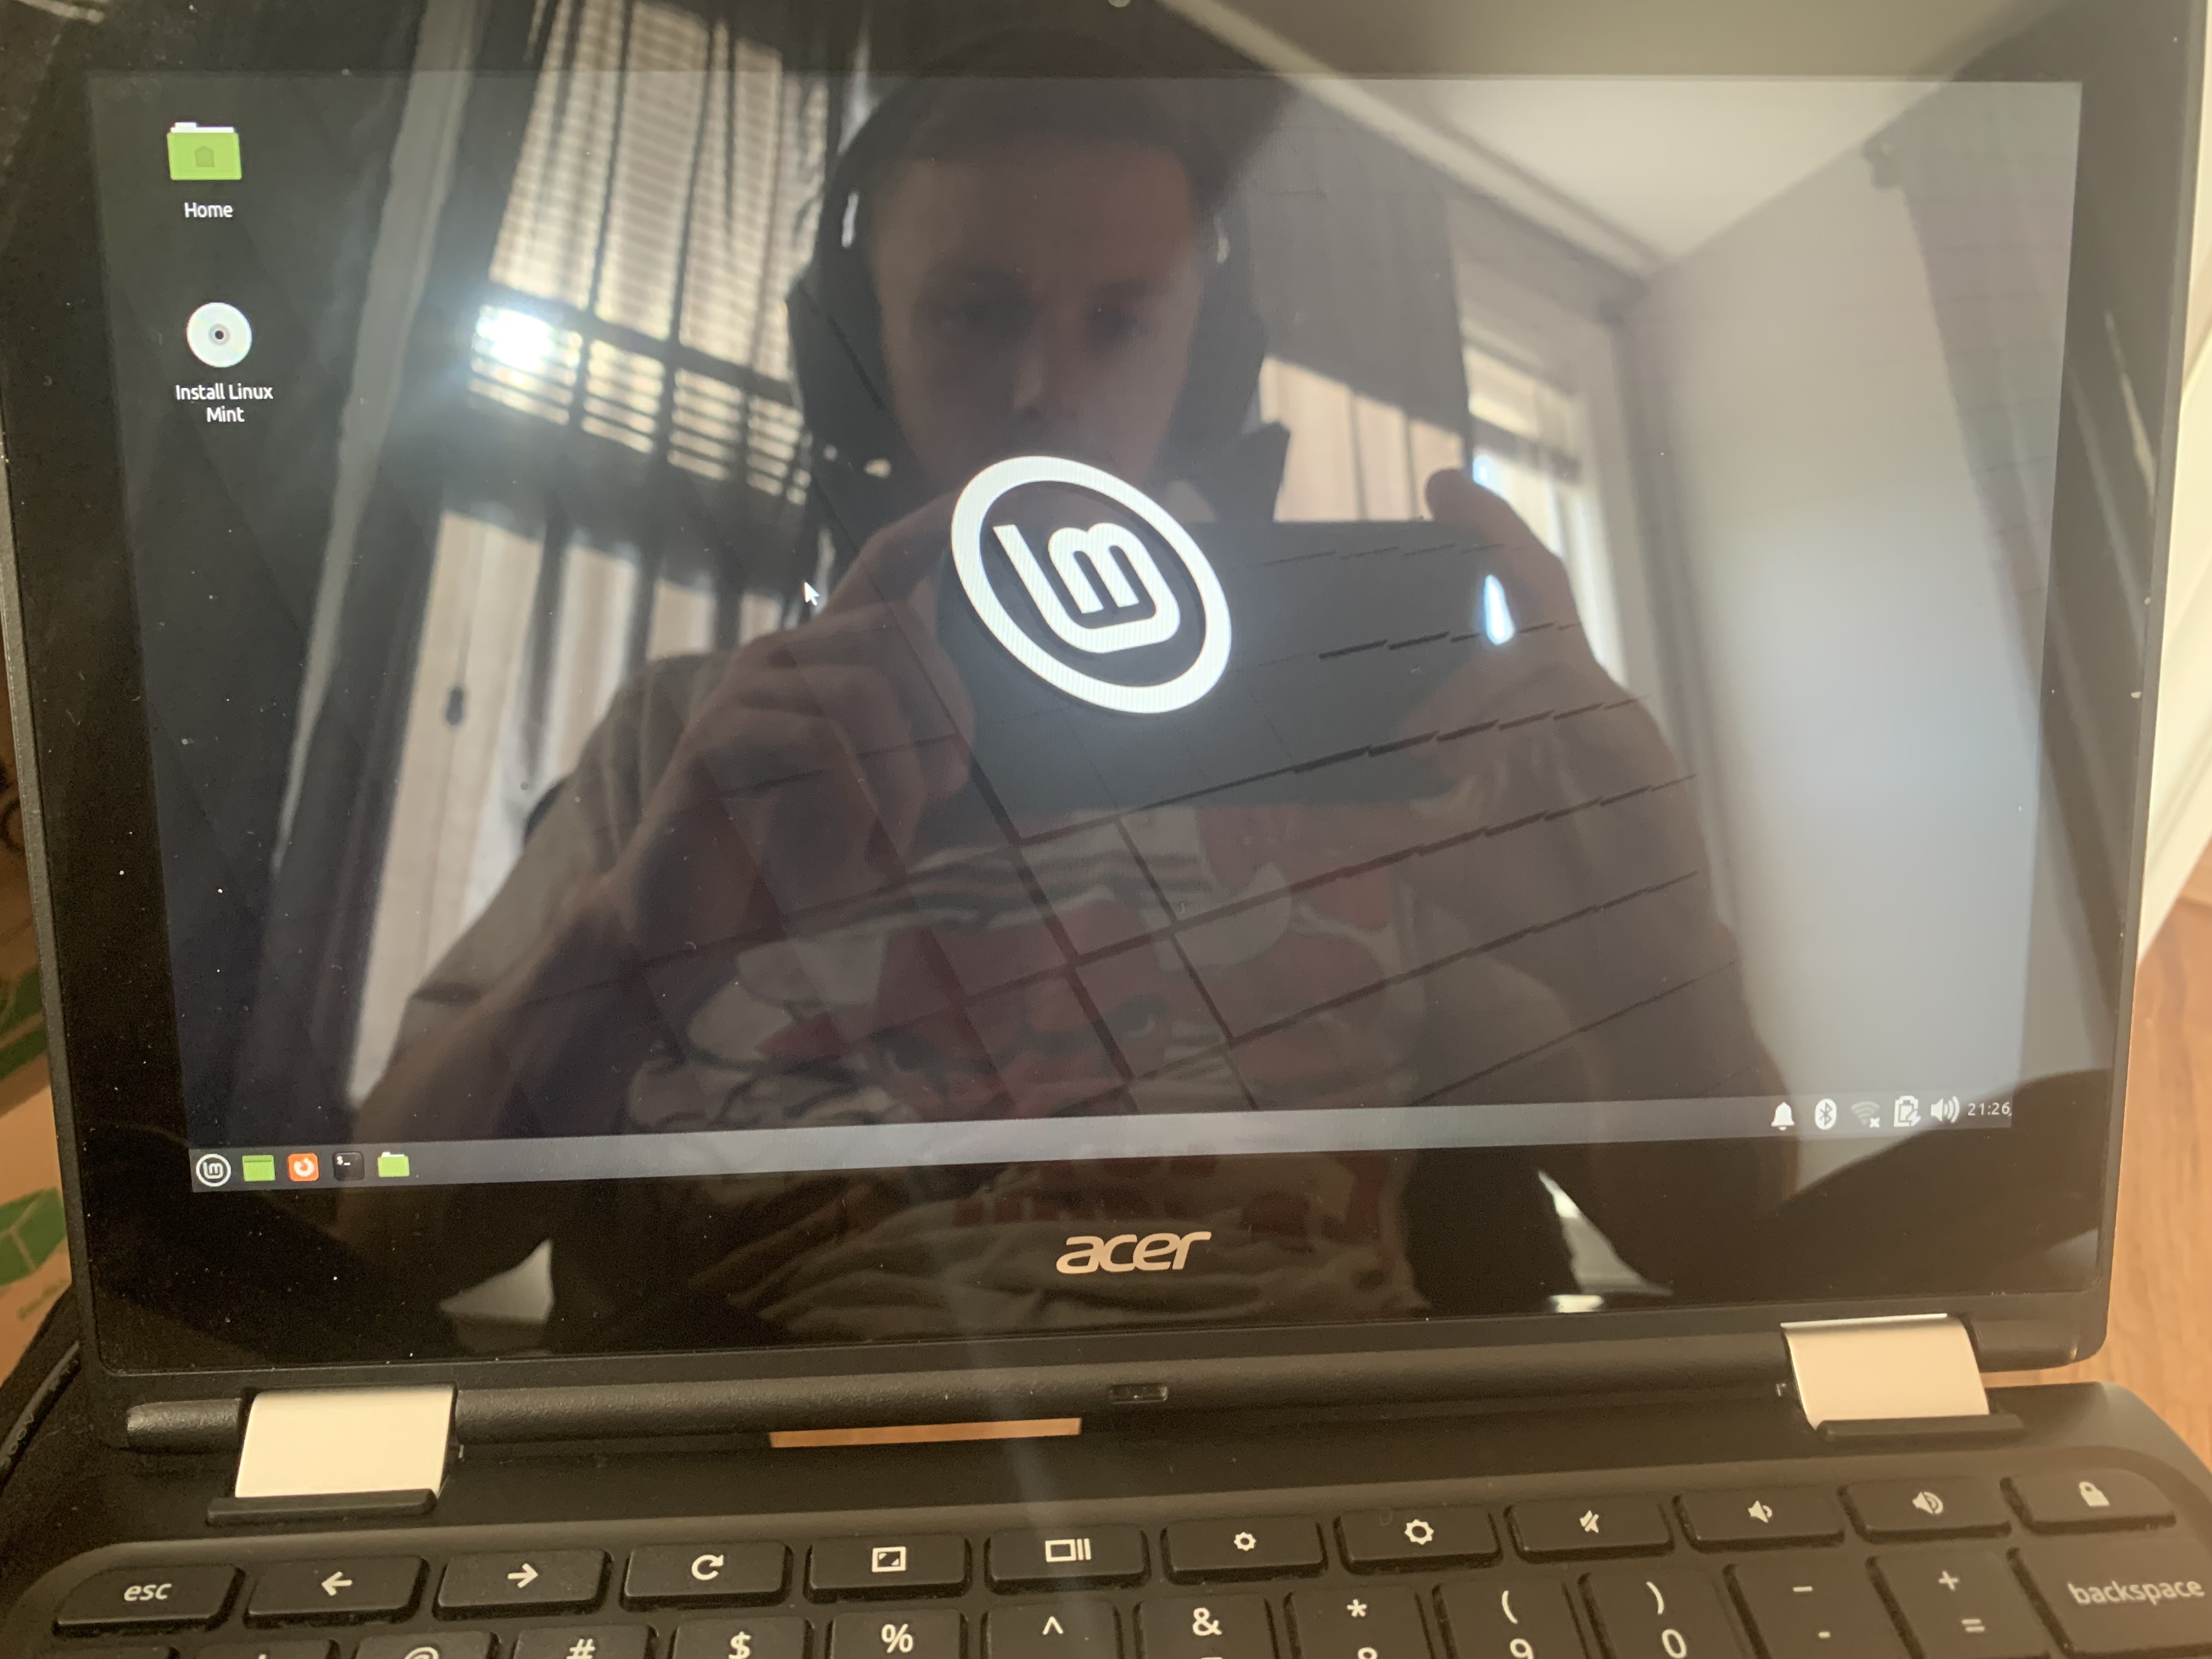
Apologies for the glare in the last pics but please appreciate my Bulls shirt :)
Back